I remember sitting in my first fabrication shop back in the seventies, watching a young apprentice try to force a joint together by cranking the heat like he was trying to start a bonfire. He thought more temperature meant a faster fix, but all he did was scorch the surface and ruin a perfectly good piece of brass. That’s the trouble with how people approach soldering metal components these days; they treat it like a race against the clock rather than a conversation with the material. They buy these overpriced, flashy kits that promise instant results, but they don’t understand that if you don’t respect the thermal flow, you’re just wasting your time and your solder.
I’m not here to sell you on some magic gadget or a complicated manual that reads like a textbook. What I want to do is show you how to actually read the metal so you know exactly when it’s ready to take the bond. I’ll walk you through the real-world physics of heat distribution and the importance of a clean surface, stripped of all the unnecessary fluff. We aren’t just slapping things together to look pretty; we are building connections that are meant to stay joined for a lifetime.
Table of Contents
Respecting Thermal Conductivity in Metal Joining
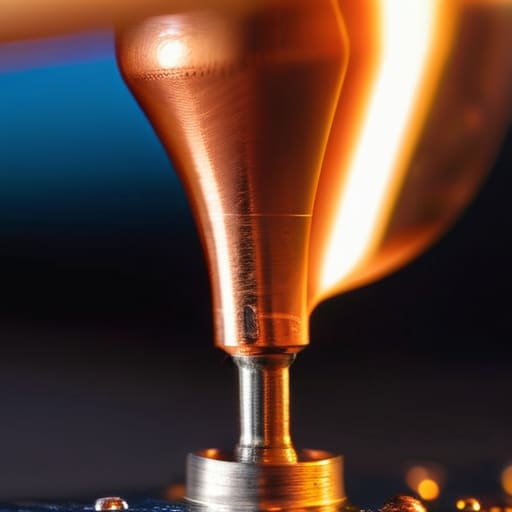
You can’t treat every piece of metal like it’s the same, and that’s where most folks trip up. If you’re working with a heavy chunk of copper versus a thin strip of brass, you’re dealing with vastly different levels of thermal conductivity in metal joining. Copper is a heat sink; it’ll suck the warmth right out of your iron before the solder even thinks about melting. If you don’t account for that, you’ll spend half your afternoon fighting a cold joint that just won’t take. I’ve seen many a novice get frustrated, cranking up the heat to compensate, only to end up scorching the workpiece or ruining the temper of the metal entirely.
It’s about finding that sweet spot where the metal is ready to accept the bond. This means your soldering iron temperature control has to be steady and intentional. You aren’t just melting a wire; you’re preparing the surface. If the metal isn’t at the right temperature, the solder will just bead up and roll off like water on a waxed car. Take your time to let the heat soak in evenly. Patience is your best tool here—once the metal is properly preheated, the solder will flow where it’s supposed to, creating a bond that actually holds.
Choosing Your Weapon Soldering Equipment for Electronics
Now, before you go out and buy the first cheap kit you see on a big-box website, listen to me: your tools are an extension of your hands. If you’re working on delicate work like soldering circuit boards, you can’t just use a heavy-duty heating element meant for plumbing. You need a station that offers precise soldering iron temperature control. If the heat fluctuates while you’re trying to seat a component, you’re going to end up with a cold joint that’ll fail the moment the device gets warm. I’ve seen too many folks ruin perfectly good boards because they were fighting a tool that couldn’t hold a steady temperature.
You also need to decide which way you’re going with your consumables. Most modern shops push you toward lead-free options for safety, but if you’re restoring an old piece of kit, you might find that the old tin-lead vs lead-free solder debate isn’t just about regulations—it’s about how the metal flows. Lead-free can be finicky and requires a higher heat, which puts more stress on the parts. Whatever you choose, make sure your flux is up to the task; poor solder flux applications are the fastest way to invite corrosion into a clean joint.
Five Rules to Keep Your Joints from Failing
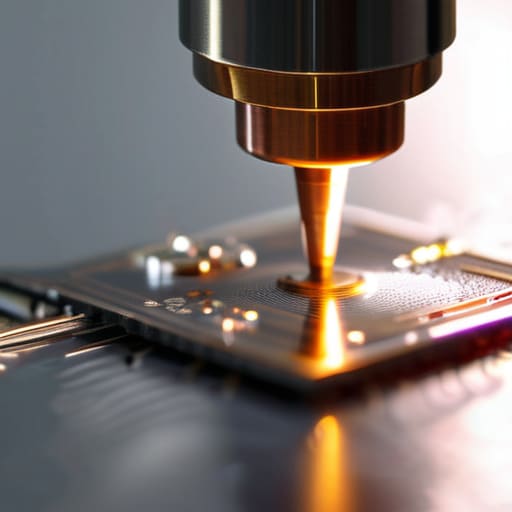
- Clean your surfaces until they shine. I don’t care how new the component looks; if there’s a film of oxidation or a bit of grease on that metal, the solder won’t bite. Use a bit of fine abrasive or some isopropyl alcohol. If the metal isn’t clean, you’re just painting over dirt.
- Use flux like your life depends on it. Think of flux as the bridge between the heat and the solder. It strips away the oxidation while you’re working, allowing the molten metal to actually flow into the joint instead of just sitting on top like a bead of wax.
- Tin your tip every single time. A dry iron is a useless iron. Before you touch the component, coat the tip of your soldering iron with a thin layer of solder. It helps the heat transfer quickly and evenly, so you aren’t hovering over the board waiting for the temperature to climb.
- Let the metal do the work, not the solder. This is where most folks mess up. You need to heat the joint itself—the lead and the pad—so they’re hot enough to melt the solder on contact. If you just melt solder onto a cold tip and try to “drop” it on the connection, you’ll get a cold joint that’ll snap the moment it sees any stress.
- Watch the clock. Metal is a heat sink, and if you sit there dwelling on a single connection for too long, you’re going to cook the component or lift the copper pad right off the board. Work steady, work precise, and move on once the solder has flowed. If it’s not right, let it cool completely before you try to touch it again.
The Bottom Line Before You Pick Up the Iron
Watch the metal, not the clock; you’ll know it’s ready when the heat flows naturally, not when you’ve been standing there for five minutes.
Never skimp on the preparation, because even the best solder in the world won’t stick to a surface that hasn’t been cleaned properly.
Treat your tools with respect, because if you don’t maintain your iron and tips, you’ll spend more time fighting your equipment than actually fixing anything.
The Lesson in the Solder
You can’t bully the metal into doing what you want; you have to wait for it to invite the heat in. If you’re fighting the joint instead of working with it, you’ve already lost the repair.
Alistair Fenwick
Final Thoughts Before You Pull the Iron
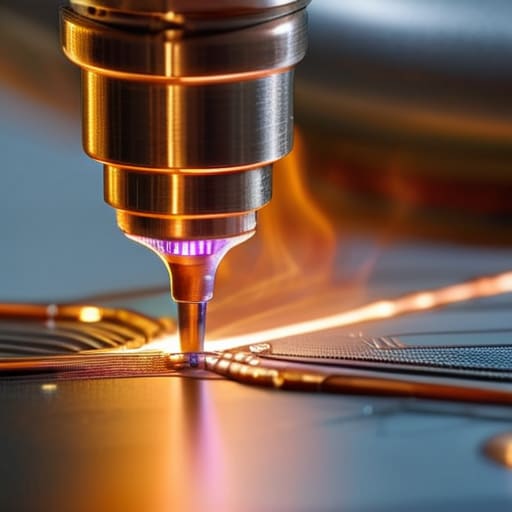
At the end of the day, successful soldering comes down to what we’ve discussed: understanding how heat moves through your specific metal and having the right tools for the job. You can’t treat a heavy copper wire the same way you treat a tiny circuit trace, and if you try, you’re going to end up with a cold joint that fails the moment it gets a bit of vibration. Remember to watch your temperature, keep your iron clean, and never force the solder to flow where it doesn’t want to go. If the metal isn’t ready, the solder won’t be either. It’s about patience and preparation, not just melting wire onto a surface.
I know it can feel a bit daunting when you’re staring down a piece of equipment that looks like it belongs in a museum, but don’t let that stop you. There is a real, quiet satisfaction in taking something that was broken and making it whole again with your own two hands. We live in a world that wants you to throw everything away the second it stops working, but I’m telling you, it is worth the effort to fix it. Take your time, respect the material, and build things that stay built. That’s how you honor the craft.
Frequently Asked Questions
How do I know if I'm applying too much heat and risking damage to the component itself?
Watch the solder, not just the iron. If the solder starts “balling up” like water on a greasy pan instead of flowing smoothly, you’re likely cooking the component. You’ll also see the flux smoke heavily or turn dark and crusty—that’s a sign you’ve pushed it too far. If the component’s casing starts to discolor or smell like burnt plastic, pull back immediately. You can’t undo heat damage once it’s set.
What’s the best way to clean old, oxidized metal before I even think about touching it with a soldering iron?
You can’t build a solid connection on a foundation of rust and grime. If you try to solder over oxidation, the heat won’t penetrate, and you’ll just end up with a cold, brittle joint that fails the moment you use it. Start with some fine steel wool or a brass brush to scrub away the heavy stuff. If it’s stubborn, a bit of light sandpaper will do the trick. Just make sure it’s bright and clean before you bring the iron near it.
If I'm working with different types of metals, how do I figure out which solder is actually going to bond instead of just sitting on the surface?
You can’t just grab whatever spool is closest to the bench and hope for the best. If the solder is just beadng up like water on a greasy pan, you haven’t achieved a bond; you’ve just made a mess. You’ve got to match your flux to the metal. Copper is forgiving, but if you’re working with something like brass or aluminum, you need a specific flux that’ll bite through that oxidation. Match the chemistry, or you’re just wasting time.
