I remember standing over a piece of glowing cherry-red steel back in ’84, my hands shaking not from fear, but from sheer exhaustion. I’d spent three hours trying to force a shape using a cheap, poorly balanced mallet I’d picked up from a bargain bin, thinking I was saving a few bucks. All I did was ruin the temper of the metal and end up with a blister on my palm that lasted a week. It’s the same nonsense I see today: folks spending a fortune on flashy, high-tech kits or, worse, grabbing the first flimsy thing they see at a big-box store. Let me tell you, if you don’t respect the weight and the balance of your metalwork hammers, you aren’t working the metal—the metal is working you.
I’m not here to sell you on some overpriced, gold-plated tool that looks pretty on a showroom shelf. What I want to do is sit you down and show you how to identify the tools that actually earn their keep in a real shop. I’ll walk you through the weight, the grip, and the specific striking faces you actually need so you can stop wasting material and start building things that last.
Table of Contents
- A Forging Hammer Weight Guide for True Longevity
- Understanding Blacksmithing Hammer Types Without Taking Shortcuts
- Five Rules to Keep Your Hammer—and Your Work—in Good Shape
- The Bottom Line on Choosing Your Striking Tool
- ## The Weight of a Good Tool
- Choosing the Right Tool for the Long Haul
- Frequently Asked Questions
A Forging Hammer Weight Guide for True Longevity
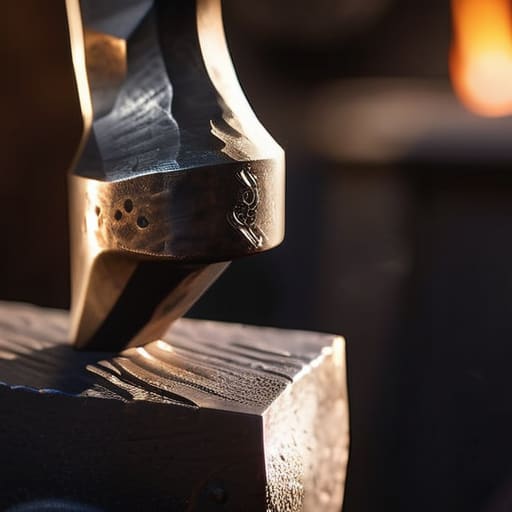
Now, don’t go thinking a bigger hammer always means better work. I’ve seen plenty of youngsters walk into a shop and grab the heaviest sledge they can find, thinking they’ll muscle their way through a project. That’s a quick way to end up with a sore wrist and a piece of scrap metal that’s been beaten out of shape. When you’re looking at a forging hammer weight guide, you have to consider the scale of what’s sitting on your anvil. For fine detail and light adjustments, you want something in the 14 to 20-ounce range. These act as your precision metal shaping tools, allowing you to control the strike without overworking the grain.
Once you move into heavier fabrication, you’ll need to step up to something more substantial, perhaps a 2-to-3-pound hammer. These are your heavy duty striking implements, meant for moving larger masses of hot steel. The trick is finding the balance where the tool does the work for you, rather than you fighting the tool. If you find yourself swinging too hard just to get a result, you’ve picked the wrong weight.
Understanding Blacksmithing Hammer Types Without Taking Shortcuts
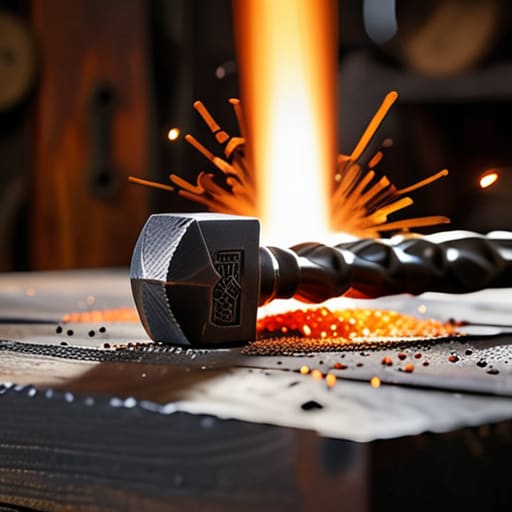
Now, don’t go thinking you can just walk into a hardware store and pick up a single tool to do every job in the shop. That’s a mistake I see too many young fellas making. If you want to do things right, you need to understand the different blacksmithing hammer types and why each one exists. A heavy cross-peen is your workhorse for moving bulk material, but if you try to use it for fine detail, you’re going to end up with a mess of distorted metal. It’s about matching the tool to the task, not just swinging whatever is closest to your hand.
When you’re moving into more delicate territory, you’ll find yourself reaching for precision metal shaping tools. For instance, if you’re working on rivets or smoothing out a specific spot on a piece of sheet, knowing the proper ball peen hammer uses will save you more heartache than I can count. One side gives you the flat strike you need, while the rounded end lets you shape without leaving those ugly, deep facets. It takes a bit of time to get the feel for them, but once you do, you’ll stop fighting the metal and start working with it.
Five Rules to Keep Your Hammer—and Your Work—in Good Shape
- Check your faces regularly. If you start seeing pits or uneven spots on the striking surface, don’t just ignore it; a bad hammer face will transfer those imperfections right into your workpiece, and you’ll spend more time grinding out mistakes than actually shaping metal.
- Respect the handle’s integrity. Whether you’re using hickory or a modern composite, give it a good shake every time you pick it up; if you feel any looseness or hear a rattle, stop what you’re doing and tighten or replace it before that head becomes a projectile.
- Don’t overswing. I see young lads trying to muscle the hammer with their shoulders, but real control comes from the wrist and a steady rhythm—if you’re swinging so hard you’re losing your breath, you’ve already lost your precision.
- Keep your striking surfaces clean. I’ve seen more than one job ruined because someone had a bit of scale or old oil on their hammer face, which then gets smashed right into the finish of a clean piece of steel.
- Match the tool to the task, every single time. Using a heavy sledge when a cross-peen would do isn’t “tough,” it’s just sloppy, and you’ll end up fatiguing your joints and wasting energy for no good reason.
The Bottom Line on Choosing Your Striking Tool
Don’t let a shop catalog fool you into thinking more weight is always better; pick a hammer that matches the specific scale of your work so you aren’t fighting the tool more than the metal.
Invest in a hammer with a balanced head and a handle that feels like an extension of your own arm, because a poorly balanced tool will ruin your technique and your joints before the job is done.
Stop looking for the cheapest option available; a decent hammer is a lifetime investment, and a tool that fails you mid-swing is nothing more than expensive scrap metal.
## The Weight of a Good Tool
“A hammer isn’t just a piece of steel on a handle; it’s an extension of your own arm. If you pick one that’s poorly balanced or too light for the job, you aren’t just fighting the metal—you’re fighting yourself, and the metal always wins in the end.”
Alistair Fenwick
Choosing the Right Tool for the Long Haul
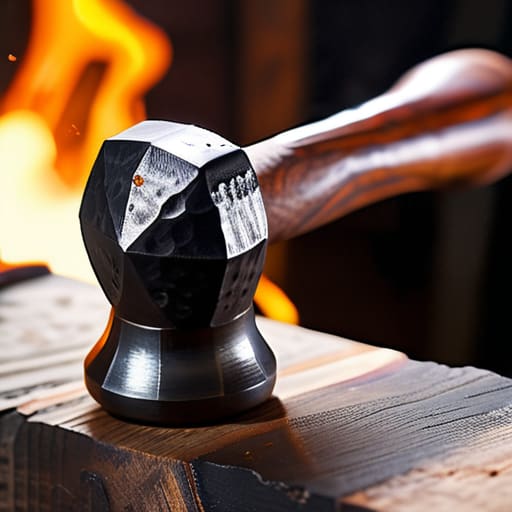
At the end of the day, picking a hammer isn’t about finding the flashiest tool in the catalog; it’s about matching the weight and the face to the specific job sitting on your anvil. We’ve talked about why you can’t just grab a heavy sledge when you need the precision of a cross-peen, and why skimping on a quality handle is a recipe for a sore wrist and a wasted afternoon. Whether you’re shaping a piece of hot steel or just doing some light repair work, remember that the right tool makes the work feel natural, while the wrong one just makes it feel like a struggle. Don’t let the urge to rush lead you into buying a cheap, poorly balanced piece of junk that you’ll have to replace in six months.
I’ve spent more years than I care to admit with a hammer in my hand, and if there is one thing I’ve learned, it’s that respect the tool and the tool will respect the metal. There is a certain kind of satisfaction that comes from a well-struck blow—one that feels solid, purposeful, and clean. It’s a skill that takes time to develop, and it starts with having equipment that won’t fail you when the heat is up. So, take your time, do the research, and invest in something that can stand the test of time. We aren’t just making things; we’re building a legacy of craftsmanship that lasts.
Frequently Asked Questions
How can I tell if a hammer's handle is properly seated before I start swinging it at hot steel?
Before you ever strike a piece of hot steel, you’ve got to check that handle. I always give the head a firm, sharp tap with the palm of my hand; if it rattles or feels even slightly loose, stop right there. You’re looking for a solid, singular “thud.” If there’s any play at all, that wedge isn’t set right. A flying hammer head is a fast way to end a career.
Is it worth investing in a high-end forged steel hammer, or can I get the job done with something more basic?
Look, I’ve seen plenty of fellas blow out their wrists and ruin a good piece of steel because they were trying to save a few bucks on a cheap, cast-iron hammer. If you’re just tapping a loose rivet once a year, a basic tool will do. But if you’re actually shaping metal, buy the forged steel. It holds its edge, balances right in your hand, and won’t shatter when the work gets heavy.
What’s the best way to maintain the face of my hammer so it doesn't start leaving ugly marks on my finished work?
If you’re seeing marks on your work, your hammer face is likely pitted or has burrs from hitting harder steel. Don’t just ignore it. Grab a fine-grit emery cloth or a small stone and work in a circular motion. You want to smooth out those tiny imperfections without rounding off the edges too much. Keep it polished, keep it clean, and for heaven’s sake, don’t let it get rusty while it’s sitting on the bench.
