I remember a job back in ’84, working on a custom chassis for a client who thought he could save a few bucks by buying those bulk packs of generic, flimsy abrasive sheets from the local big-box store. I watched him spend four hours fighting a single piece of steel, only to end up with a surface full of deep, jagged scratches because the grit was inconsistent and the backing wouldn’t hold up to any real pressure. He learned the hard way that using the wrong metal-working sandpaper isn’t just a waste of time; it’s a way to ruin perfectly good material that you can’t just go out and replace.
I’m not here to sell you on some fancy, overpriced brand name that promises magic in a box. What I want to do is sit you down and show you how to actually select the right grit and backing for the job you’re doing, whether you’re smoothing out a cast-iron skillet or prepping a structural weld. I’ll give you the straight truth on what works in a real shop, so you can stop fighting your tools and start respecting the metal.
Table of Contents
Understanding Abrasive Material Types and Grit Progression
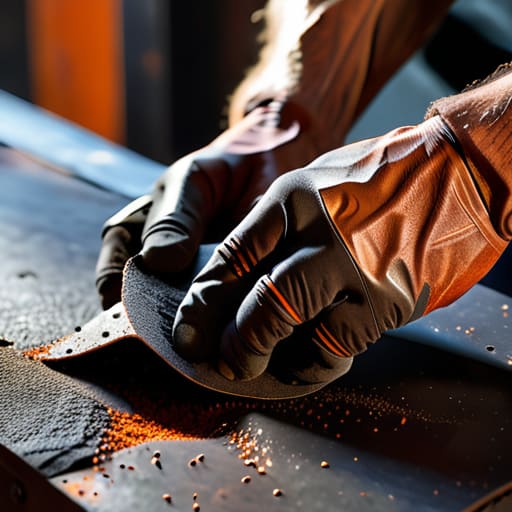
Before you even pick up a sheet of abrasive, you need to understand what you’re actually working with. Not all sandpaper is created equal, and if you grab the wrong abrasive material types for the job, you’re just going to gouge the surface and waste your afternoon. For heavy-duty work, like when I’m stripping old scale off a piece of wrought iron, I reach for emery cloth for metal. It’s got a bit more backbone than your standard paper and won’t tear apart the moment you apply some pressure. If you’re just cleaning up a light oxidation, a fine-grain paper will do, but don’t go expecting a miracle if the corrosion is deep.
The real secret to a professional finish, though, lies in your sandpaper grit progression. You can’t just jump from a coarse grit straight to a polish and expect it to look smooth. You have to respect the stages. Start with something heavy to get the rough stuff out of the way, then step up through the grits systematically. If you skip a step, those deep scratches from the coarse grit will show up like scars once you start polishing metal surfaces. Take it slow; each step is there to erase the mistakes of the one before it.
Why Emery Cloth for Metal Outlasts Cheap Shortcuts
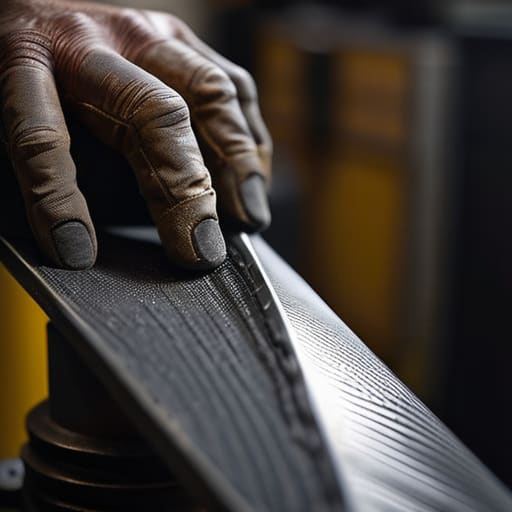
I’ve seen too many young fellas walk into a shop, buy a cheap pack of paper-backed sanding sheets, and wonder why they’re halfway through a job with a torn-up mess in their hands. When you’re working on something substantial, standard paper just doesn’t have the backbone. It tears, it clogs, and it loses its bite the second it hits a bit of resistance. That’s why I always reach for emery cloth for metal when I’m doing any real work. Because it’s cloth-based, it has a certain flexibility and durability that paper simply can’t match. It wraps around curves and stays intact even when you’re putting some decent pressure behind it.
If you’re serious about polishing metal surfaces to a professional standard, you need a tool that respects the material. Cheap sandpaper might get the job done for a quick touch-up, but it’s a waste of money if you have to keep replacing it every five minutes. Emery cloth holds its shape and its grit much longer, which means you aren’t fighting the tool as much as you are working the metal. It’s about efficiency and, more importantly, it’s about having a consistent result without the frustration of constant interruptions.
Five Rules for Not Wasting Your Material
- Don’t skip the intermediate grits just because you’re in a hurry. If you jump straight from a coarse scratch to a fine polish, you’ll spend three hours trying to buff out deep gouges that shouldn’t have been there in the first place.
- Keep your sandpaper clean by tapping it against the workbench or using a stiff brush. If you let metal filings get embedded in the grit, you aren’t smoothing the surface anymore—you’re just dragging tiny shards of steel across it, and that’ll leave more scratches than it fixes.
- Always work with the grain if the metal has a brushed finish, or move in consistent, overlapping circles if you’re prepping for a smooth coat. If you switch directions halfway through, you’re going to see those swirl marks the second the light hits the piece.
- Watch your heat. If you’re using a power sander and the metal starts getting too hot to touch, you’re doing it wrong. High heat can mess with the temper of certain steels or cause the abrasive to glaze over and stop cutting entirely.
- Test your grit on a scrap piece of the same material first. Every alloy reacts differently to an abrasive, and I’d rather see you ruin a piece of junk metal in your shop than a client’s heirloom because you assumed a certain grit would behave.
The Bottom Line on Finishing Your Work
Don’t skip the steps in your grit progression; jumping from a coarse scratch to a fine polish is just a fast way to hide defects rather than fixing them.
Invest in quality emery cloth instead of the flimsy stuff, because a piece of paper that tears halfway through a job is nothing but wasted time and frustration.
Always keep your eyes on the metal, not just the tool, and remember that the goal is a surface that’s built to last, not just one that looks decent for five minutes.
## Respect the Surface
“You can’t bully a piece of metal into being smooth; you have to earn that finish. If you use grit that’s too coarse or cheap enough to tear apart in your hands, you aren’t working the metal—you’re just fighting it, and the metal always wins in the end.”
Alistair Fenwick
Final Thoughts Before You Hit the Bench
At the end of the day, choosing the right sandpaper isn’t about finding the cheapest pack at the big-box store; it’s about understanding the relationship between your abrasive and your workpiece. We’ve talked about why you need to respect the grit progression and why a decent piece of emery cloth is worth its weight in gold compared to those flimsy paper strips that tear the moment they hit a burr. If you skip steps or try to jump from a coarse grit straight to a fine finish, you’re just fighting the metal instead of working with it. Remember, a smooth surface is earned through patience and the right material, not by forcing a result through sheer frustration.
I’ve seen plenty of young folks come into the shop wanting to rush through a project just to see the finished product, but I always tell them the same thing: the finish is where the soul of the work lives. Taking the time to sand properly is a mark of a craftsman who actually gives a damn about the longevity of what they’re building. Don’t let the modern urge for “fast and easy” rob you of the satisfaction that comes from a job done right. Treat your tools with respect, invest in quality abrasives, and you’ll find that the metal will eventually reward your effort with a finish that stands the test of time.
Frequently Asked Questions
How do I know when I've gone too far with a coarse grit and started leaving deep scratches that the finer paper won't fix?
You’ll know you’ve overdone it when you can feel the “valleys” with your fingernail. If those scratches feel like tiny canyons rather than just a dull haze, you’re in trouble. Once you’ve gouged the surface that deep, you can’t just sand it smooth; you’ll have to spend hours—maybe days—working through every single intermediate grit just to level the metal back out. If it feels rough to the touch, you’ve already gone too far.
Is there a real difference between using wet/dry sandpaper versus standard emery cloth when I'm working on a delicate restoration?
There’s a world of difference, and if you’re working on something delicate, you’d best pay attention. Standard emery cloth is your workhorse for heavy lifting, but it can be aggressive. For a fine restoration, I always reach for wet/dry paper. Adding a bit of water or oil acts as a lubricant, prevents the grit from clogging, and keeps the heat down. It gives you a much smoother, controlled finish without gouging the metal.
How often should I be swapping out my sandpaper sheets to make sure I'm not just rubbing heat and burnt grit into the metal?
If you notice the grit looks “loaded” or smooth, stop immediately. When the abrasive particles get clogged with metal dust and heat, you aren’t cutting anymore—you’re just friction-burning the surface. I usually swap my sheets the moment I feel the resistance change or see the metal starting to discolor from heat. It’s better to waste a few sheets of sandpaper than to ruin a good piece of steel by rubbing burnt grit into it.
