I remember sitting on a grease-stained stool in my first shop back in ’78, staring at a seized-up vise that looked more like a pile of orange dust than a tool. I had spent my last few dollars on some fancy, store-bought chemical spray that promised to make the problem vanish in minutes, but all it did was create a sludge of disappointment that smelled like a laboratory accident. That’s the trouble with most modern advice on rust removal; they want to sell you a miracle in a pressurized can instead of teaching you how to actually respect the material. If you think a quick spray and a wipe is going to save a piece of heirloom iron, you’re just inviting the decay to come back stronger next season.
I’m not here to sell you on any magic potions or complicated gadgets that’ll end up gathering dust in your shed. What I’m going to give you is the straight truth about how to handle oxidation using tried-and-true methods that I’ve used for forty years. We’re going to talk about patience, the right kind of abrasives, and why you need to listen to the metal before you start swinging a hammer. If you’re willing to put in the work, I’ll show you how to get that surface clean and protected so it stays that way for a lifetime.
Table of Contents
How to Clean Rusted Iron Without Rushing the Process
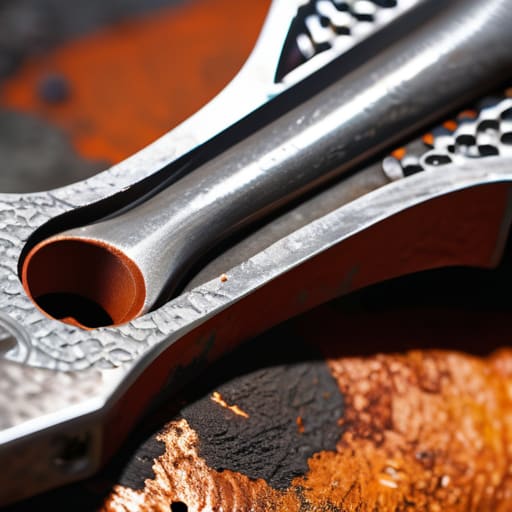
Now, before you go grabbing the first chemical bottle you see on a store shelf, you need to understand that not all corrosion is created equal. If you’re looking at a light dusting of surface scale, a bit of elbow grease and some fine grit might do the trick. But if you’re dealing with something deeper—say, removing corrosion from steel on an old garden implement or a heavy wrench—you can’t just scrub the surface and call it a day. You have to get into the pits. I’ve seen too many folks try to rush through this part, only to find the rust creeping back out from underneath the finish a week later because they didn’t reach the base metal.
If you’re tackling something more serious, like how to clean rusted iron that’s been sitting in a damp shed for a decade, you might need to look into an acid soak or a specialized converter. But remember: the goal isn’t just to make it look shiny; it’s about proper metal surface preparation. If you leave even a microscopic layer of oxidation behind, you’ve essentially invited the rust back to the party. Take your time with the soak, and don’t be afraid to let the chemistry do the heavy lifting while you go grab a coffee.
Choosing the Best Rust Removers for Tools You Value
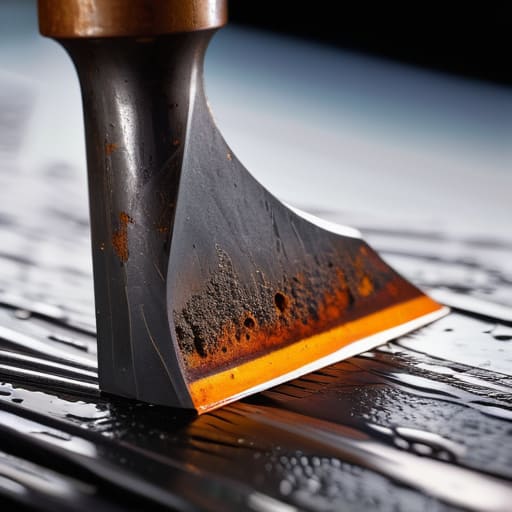
Now, before you go grabbing the first bottle of chemical spray you see at the local hardware store, you need to think about what you’re actually working on. Not all cleaners are created equal, and using the wrong one is a quick way to ruin a good piece of steel. If you’re working on a delicate antique plane or a high-carbon chisel, you want to avoid anything too aggressive that might pit the surface. When I’m looking for the best rust removers for tools, I tend to lean toward mild acids like white vinegar or specialized soak solutions that work through chemistry rather than brute force.
If you’ve got something heavier, like a set of old wrenches or even some larger components involving removing corrosion from steel for a project, you might consider an electrolytic bath. It’s a bit more setup, but it’s cleaner and much gentler on the integrity of the metal. Whatever you choose, remember that the goal isn’t just to strip the orange stuff off; it’s about proper metal surface preparation so you can apply a protective coat immediately afterward. If you leave the metal bare for too long after cleaning, you’re just inviting the air to start the whole mess over again.
Five Rules to Live By When You’re Fighting Oxidation
- Don’t go scrubbing like a madman right out of the gate. If you start with heavy-duty grinding on a thin piece of vintage iron, you’ll chew through the good metal before you’ve even seen the bottom of the pit. Start gentle—use a fine abrasive or a mild soak—and work your way up only as far as the metal needs.
- Respect the soak time. Whether you’re using white vinegar or a specialized solution, patience is your best tool. If you pull a piece out of a bath too early just because you’re eager to see the shine, you’re going to find yourself fighting half-cleared patches that’ll just rust right back on you tomorrow.
- Watch out for “flash rust.” This is the mistake that catches most beginners off guard. The second you get that metal clean and bare, it’s vulnerable. You need to have your drying rag and your protective oil sitting right there on the workbench, ready to go the moment that piece comes out of the liquid.
- Always check the integrity of the piece before you start. There’s no point in spending three hours meticulously cleaning a cast-iron skillet if the rust has already eaten through to the core and left you with nothing but flakes and holes. Know when a tool is worth saving and when it’s just scrap.
- Treat the finish as the final, most important step. Once the rust is gone, you’ve got to seal that surface immediately. I always keep a bit of clean oil or a good wax on hand. If you leave the metal naked and exposed to the air, you might as well have never cleaned it in the first place.
The Bottom Line on Keeping Your Metal Clean
Stop looking for a magic chemical that does all the work for you; true restoration is a combination of the right solution and the patience to let it sit and do its job.
Always respect the base metal by testing your method on a small, inconspicuous spot first, because once you’ve stripped too much material away, you can’t just put it back.
Cleaning the rust is only half the battle—if you don’t seal that metal with a proper oil or wax immediately after drying, you’re just inviting the oxidation to come right back.
## Respect the Surface
“You can’t bully rust off a piece of metal you actually care about; if you try to force it with brute strength and cheap abrasives, you’ll end up stripping the soul right out of the tool. Real restoration is a conversation between you and the iron—you listen to what the metal needs, and you give it the time it takes to get it right.”
Alistair Fenwick
Respect the Metal, Respect the Work
At the end of the day, getting rid of rust isn’t just about making something look shiny again; it’s about understanding the material you’re working with. Whether you decided to go the slow route with a vinegar soak or you opted for the more aggressive mechanical cleaning, the goal remains the same: stop the decay before it eats through the structural integrity of the piece. Remember that the choice of remover depends entirely on what’s sitting on your workbench, and using the wrong method can do more harm than the oxidation ever could. Take the time to clean it thoroughly, dry it off completely, and get a proper protective coating on it immediately. If you don’t seal that surface properly, you’re just setting yourself up to do this same job all over again next month.
I know it can feel tedious when you’re staring at a pitted, orange-crusted tool that looks like it belongs in a scrap heap, but don’t let that frustration drive you to take shortcuts. There is a quiet sort of satisfaction that comes from seeing a piece of history emerge from under layers of neglect because you had the patience to do it right. We live in a world that’s obsessed with throwing things away the moment they show a bit of wear, but I’m telling you, there is real value in restoration. When you save a tool or a piece of cookware, you aren’t just fixing metal; you’re honoring the craft and ensuring that quality survives for another generation.
Frequently Asked Questions
Is there a point where the rust has eaten too deep into the metal for it to be worth saving?
Look, I’ve seen plenty of tools that were more hole than metal, and I’ve seen others that looked like scrap but were just hiding under a thick crust. You have to check the structural integrity. If the pitting is so deep that the metal feels thin or “spongy” under your hand, it’s a lost cause. A tool that might snap mid-job isn’t a tool anymore—it’s a liability. Know when to let go.
How do I stop the rust from coming right back the moment I finish cleaning it?
You can’t just scrub a piece of iron clean and then let it sit bare in the air; that’s asking for trouble. Once the metal is clean, it’s vulnerable. You need to seal it immediately. I usually reach for a bit of boiled linseed oil or a high-quality paste wax. Rub it in thin, wipe off the excess, and let it cure. If you don’t protect that surface, the humidity will claim it before you’ve even put your tools away.
Can I use these same methods on thinner, more delicate metal without warping or damaging the piece?
Slow down there. You can’t treat a thin sheet of brass or a delicate antique like a heavy-duty wrench. If you apply the same heat or heavy-handed scrubbing, you’ll warp that piece faster than you can say “scrap metal.” For thinner stuff, skip the heavy abrasives and the high heat. Stick to mild acids—like vinegar—and use a soft cloth or a fine brass brush. It takes longer, but it keeps the metal true.
