I remember sitting in my old shop back in ’84, staring at a piece of hand-forged steel that I’d spent three days shaping, only to realize I’d ruined the finish because I grabbed the first cheap roll of abrasive I could find. I thought I could just power through the imperfections, but that’s the mistake most folks make today—they treat metal sandpaper like it’s some disposable commodity you can just pick up at a big-box store and forget about. They buy the high-priced, flashy brands that promise a “mirror finish” in seconds, but all they’re really doing is burning through the material and wasting their own time.
I’m not here to sell you on some magic product or a complicated system that requires a degree in chemistry to understand. What I want to do is show you how to actually respect the metal you’re working on by choosing the right grit for the job. I’ll walk you through what I’ve learned from forty years of fabrication, from the coarse stuff that bites deep to the fine grits that bring out the true character of the grain. We’re going to focus on doing it right the first time, so you can stop fighting your tools and start enjoying the work.
Table of Contents
Aluminum Oxide vs Silicon Carbide Respect the Material
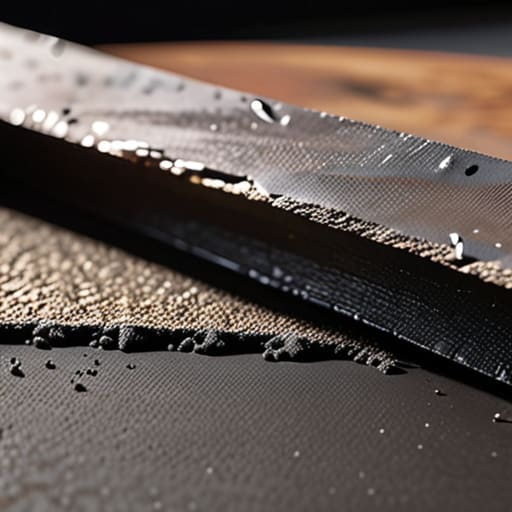
Now, before you go grabbing whatever roll of grit is sitting on the workbench, you need to understand what you’re actually working with. I’ve seen too many young fellas ruin a good piece of stock because they didn’t bother to check the label. When you’re looking at aluminum oxide vs silicon carbide, you aren’t just choosing a color; you’re choosing how much respect you’re showing the metal. Aluminum oxide is your old reliable for heavy-duty tasks. It’s tough, it’s durable, and it’s what I reach for when I’m removing rust with sandpaper on a stubborn cast-iron skillet or a heavy steel bracket. It holds its edge longer, which means you aren’t constantly swapping out sheets every five minutes.
Silicon carbide, on the other hand, is a different beast entirely. It’s much sharper and more brittle, which makes it perfect for the finer stages of polishing metal surfaces or working on softer materials like aluminum. If you try to use a heavy aluminum oxide cloth when you should be using silicon carbide, you’ll end up with a finish that looks like it was chewed on by a dog. Each has its place in the shop, so learn the difference before you start grinding.
The Art of Sandpaper Grit Progression
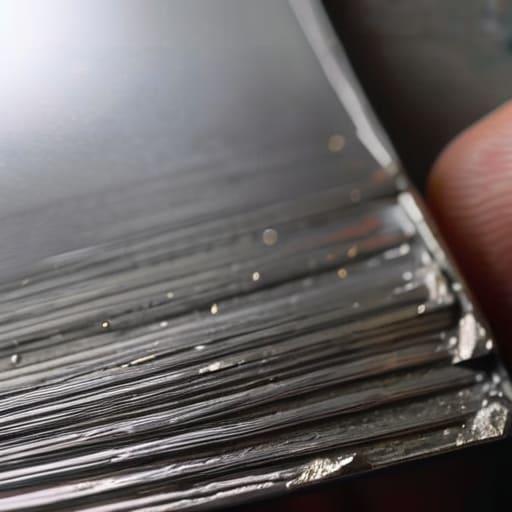
Now, this is where most folks lose their patience and ruin a perfectly good piece of stock. You can’t just jump straight from a heavy coarse grit to a fine polish and expect a mirror finish. If you skip steps in your sandpaper grit progression, you’re just going to spend hours trying to buff out the deep scratches left by the previous stage. It’s a fool’s errand. I’ve seen many a young apprentice try to rush through a restoration, only to realize they’ve etched the surface so badly that the metal is practically scarred.
You have to work your way up systematically. Start with something heavy for removing rust with sandpaper or leveling out those nasty weld beads, then move steadily through the mid-range grits. Each step is about refining what the last one did, not fighting it. If you find yourself working too hard to get a smooth surface, it’s a sign you jumped too far ahead. Take it slow. Use a bit of emery cloth for metal when you need that extra bit of flexibility around curves, but remember: the secret to polishing metal surfaces isn’t in the final grit, it’s in the discipline of the steps that came before it.
Five Rules to Keep from Ruining Your Work
- Don’t skip the steps in the grit sequence. I’ve seen too many young fellas try to jump from a coarse 80 grit straight to a fine 400 because they’re in a hurry. You’ll just end up with deep scratches that the fine paper can’t touch, and you’ll be working twice as hard for half the result.
- Keep your surface clean between every single grit change. If you leave a stray grain of that heavy 120 grit on the metal while you’re trying to move to 220, it’s going to dig right back in and leave a gouge. Wipe it down with a clean rag or some solvent every time you switch papers.
- Watch your pressure like a hawk. It’s tempting to lean into it when you’re trying to take off a stubborn bit of rust, but too much force will create uneven valleys in the metal. Let the grit do the work; your job is just to guide it steady and true.
- Use a backing block for anything flat. If you use just your fingers to press the sandpaper against a piece of steel, you’re going to create “fingertip” divots where your pressure is uneven. A hard rubber or wooden block ensures the pressure stays uniform across the whole surface.
- Listen to the metal and watch the dust. If the sandpaper starts feeling like it’s just sliding over a layer of sludge instead of cutting, you’re likely loading up the grit with metal particles. Stop, clean your paper or get a fresh sheet, and don’t try to force a dull abrasive to work.
The Bottom Line on Finishing Your Metal
Stop jumping straight to the fine grits; you’ll spend twice as long fighting scratches that a coarser paper should have cleared out in minutes.
Match your abrasive to the metal’s soul—use silicon carbide for the hard, brittle stuff and aluminum oxide when you’re working with something more forgiving.
Don’t let your ego drive the speed; a steady, patient hand with the right grit will always beat a rushed job that leaves the surface looking like a mess.
## The Cost of a Shortcut
“You can buy the cheapest grit in the shop to save a few cents, but you’ll pay for it ten times over in ruined-up surface finishes and wasted hours trying to fix what a steady hand and the right paper could have done right the first time.”
Alistair Fenwick
Respect the Finish, Respect the Work
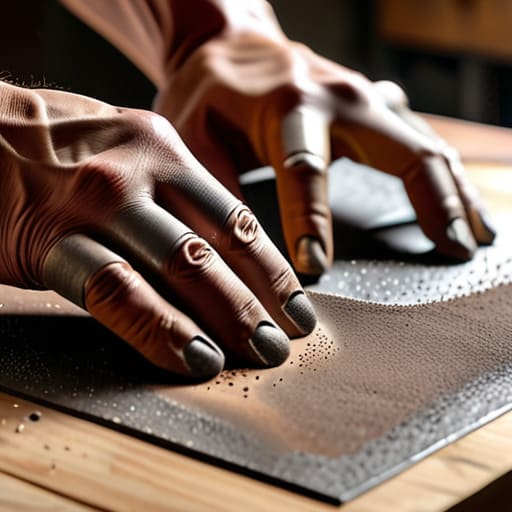
At the end of the day, choosing the right sandpaper isn’t about picking the most expensive brand on the shelf; it’s about understanding the metal sitting on your workbench. Whether you’re leaning on silicon carbide for a sharp, aggressive cut on something like brass, or using aluminum oxide to steadily smooth out a steel repair, you have to match the tool to the task. Remember, skipping those middle grit steps or trying to jump straight to a high polish is a fool’s errand. If you don’t respect the grit progression, you’re just going to spend twice as much time fighting deep scratches that no amount of fine-grit paper will ever pull out. Slow down and do it right the first time.
I’ve spent forty years watching folks try to rush a job, only to end up throwing good material into the scrap bin because they were too impatient to let the sandpaper do its work. Metalwork isn’t a race against the clock; it’s a conversation between your hands and the material. When you take the time to properly prep a surface, you aren’t just making it look pretty—you’re ensuring that whatever you’re building or restoring is actually built to last. So, keep your grit organized, keep your eyes sharp, and remember that true craftsmanship is found in the details that most people are too hurried to notice.
Frequently Asked Questions
How do I know when I've gone too far with the grit and started stripping away too much of the original surface?
You’ll know you’ve overstepped when the tool starts losing its soul. If you’re restoring an old cast-iron skillet or a vintage plane, you’re looking for a smooth finish, not a brand-new shape. If the original casting marks or those subtle, character-filled imperfections disappear under a uniform, sterile shine, you’ve sanded too deep. Stop the moment the surface feels right to your hand, not just your eyes. Once you’ve altered the geometry, you can’t take it back.
Is there a trick to using wet sandpaper on old cast iron without causing a mess or uneven pitting?
The trick is all in your lubricant and your patience. If you use plain water, it dries too fast and leaves those nasty uneven pits. I always use a little bit of mineral oil or even a drop of dish soap in the water; it keeps the slurry moving and prevents the grit from clogging. Work in small, circular motions and don’t press down hard. Let the grit do the work, not your muscle.
Can I use the same sandpaper for both cleaning off rust and prepping a surface for a new finish, or am I asking for trouble?
You’re asking for trouble, plain and simple. If you try to prep a surface for a new finish using the same grit you used to tear through rust, you’re going to leave deep, jagged scratches behind. Rust removal is a battle; prepping for a finish is a refinement. Use your coarse grits to kill the oxidation, then step up through the progression. If you skip those middle steps, that new coating will just highlight your mistakes.
