I remember sitting in my first shop back in the seventies, the air thick with the smell of cutting oil and the rhythmic, high-pitched scream of a buffing wheel. I was trying to get a mirror finish on a piece of brass, thinking if I just pushed the machine harder and used more compound, I’d get there faster. Instead, I ended up with a heat-discolored mess and a ruined workpiece that taught me a lesson I’ve carried for forty years: polishing metal isn’t about brute force or how much money you spend on fancy electric tools. It’s about feeling the vibration in your hands and knowing when the grit is actually doing its job.
If you’re tired of seeing people sell you “miracle” sprays that just mask scratches under a thin layer of chemical shine, you’ve come to the right place. I’m not here to give you a sales pitch or a list of overpriced gadgets you don’t need. I’m going to show you the proper way to work through the grits, from the heavy lifting to the final buff, so you can achieve a finish that actually lasts. We’re going to do this right, the first time, because true craftsmanship requires more than just a quick shine; it requires patience.
Table of Contents
Proper Metal Surface Preparation Before the First Pass
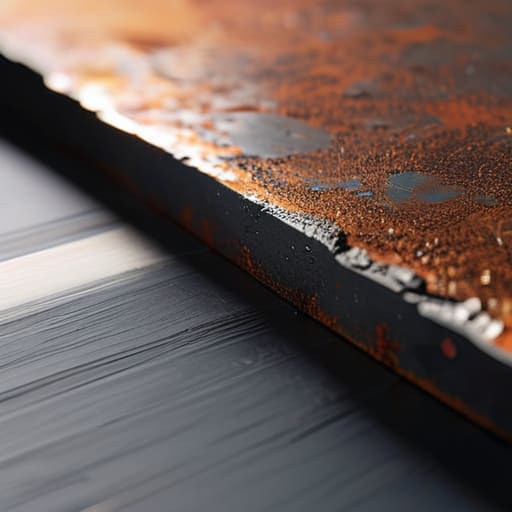
Before you even think about reaching for a buffing compound, you need to deal with the grit and the grime. If you try to skip straight to the fine stuff, you’re just rubbing dirt into the pores of the metal, and you’ll end up with a finish that looks cloudy no matter how much you work it. The real secret to metal surface preparation isn’t about speed; it’s about getting the surface level and clean. I always start by stripping away any heavy scale or rust with a wire brush or coarse sandpaper. You want to ensure you’re removing oxidation from metal thoroughly before the high-speed tools ever touch the workpiece.
Once the heavy lifting is done, you have to move through your abrasive polishing steps systematically. I’ve seen too many young lads jump from a coarse grit straight to a soft cloth, and all they do is create deep swirl marks that are a nightmare to get out later. You need to work your way down through the grits, treating each stage as a foundation for the next. If you don’t get those deep scratches out during the prep phase, you’ll never reach that deep, true luster you’re actually aiming for.
Removing Oxidation From Metal Without Rushing the Work
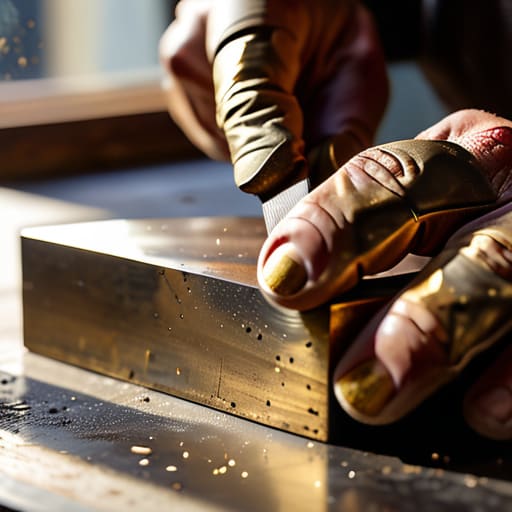
Now, once you’ve got your surface prepped and clean, you’re going to face the real test: removing oxidation from metal without losing your temper or your material. I see folks grab a high-speed grinder and try to blast through rust or tarnish in five minutes flat. That’s a fool’s errand. If you rush it, you’ll end up with deep gouges and uneven valleys that no amount of fine grit will ever fix. You have to treat oxidation like a stubborn knot in wood; you don’t hack at it, you work it out.
Start with a coarse abrasive and let the tool do the heavy lifting. I always tell my apprentices that the machine shouldn’t be doing the work for you—you should be guiding it. Use steady, overlapping strokes to ensure you aren’t digging a hole in one spot. If you see the metal getting too hot to touch, back off. Heat changes the temper of the steel, and once you’ve ruined the integrity of the piece, all the shine in the world won’t save it. Take it slow, stay observant, and only move to the next stage when the surface is truly even.
Five Rules to Keep You From Ruining a Good Piece of Metal
- Stop skipping grit levels just because you’re in a hurry. If you jump from a coarse grit straight to a fine one, you’re just polishing the scratches you should have sanded out earlier. Work your way up steadily, or you’ll spend more time fighting those deep gouges than actually getting a shine.
- Watch your heat like a hawk. When you’re using a buffing wheel or a high-speed tool, that metal can get hot enough to burn your skin or, worse, ruin the temper of the steel. If it feels too hot to touch, you’ve gone too far and too fast.
- Don’t go overboard with the polishing compound. I see folks slapping on thick layers of rouge like they’re frosting a cake, but that just creates a gummy mess that clogs your pads and hides the surface. A light, even coating is all you need to get the job done right.
- Pressure is your enemy if you don’t know what you’re doing. You might think pushing harder will get the job done faster, but you’re really just digging uneven divots into the metal. Let the abrasive do the heavy lifting; your job is just to guide it.
- Always check your work under a good light. A piece can look brilliant under a shop lamp but show every single imperfection once you move it into the sunlight. Use a raking light to see the true state of the surface before you call the job finished.
The Hard Truths of a Good Finish
Never try to polish over dirt or rust; if you don’t get the surface clean and level first, you’re just rubbing grit into the metal and making more work for yourself later.
Respect the grit progression—skipping steps to save time is the fastest way to leave deep scratches that no amount of fine buffing will ever pull out.
A shine that looks good under a shop light but feels rough to the touch isn’t a finished job; true quality is something you can feel with your hands, not just see with your eyes.
The Truth About the Finish
A mirror finish is just a lie if you haven’t put the work in underneath; if you don’t respect the prep work, you’re nothing more than a man painting over rust and calling it progress.
Alistair Fenwick
The Final Polish
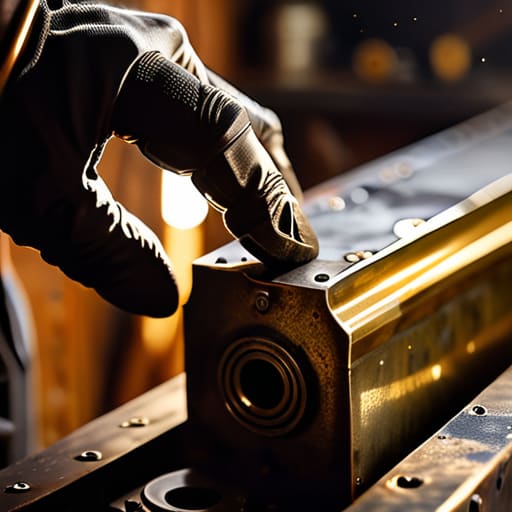
At the end of the day, polishing isn’t just about making something look pretty for a photo; it’s about respecting the material you’re working with. We’ve talked about why you can’t skip the prep work, why you shouldn’t rush through the oxidation, and why your grit progression matters more than how much muscle you put into it. If you try to jump straight to the fine finish while there’s still deep pitting or heavy scale underneath, you’re just masking the truth of the metal. You’ll end up with a surface that looks decent under a dim light but shows every single flaw the moment the sun hits it. Do the grunt work properly, follow the sequence, and the metal will eventually reward your patience.
I know it’s tempting to grab the high-speed buffer and try to blast through the job in twenty minutes, but that’s how you ruin a good piece of history. Real craftsmanship is found in those quiet moments when you’re working through the final stages, feeling the heat of the friction and watching the luster slowly emerge from the dullness. It’s a slow process, and it’s often tedious, but there is a profound satisfaction in knowing you didn’t take a single shortcut. When you finally step back and see that mirror finish, remember that it wasn’t the machine that did the work—it was your discipline. Build things that last, and take the time to make them shine.
Frequently Asked Questions
How do I know when I've gone too far and actually started removing too much of the original metal surface?
You’ll know you’ve overdone it when the geometry starts looking soft. Real metal has crisp lines and defined edges; if those corners start rounding off like a river stone, you’re eating into the structural integrity. Keep a close eye on the depth of any engravings or maker’s marks, too. If the detail starts blurring, stop immediately. You aren’t just cleaning the surface anymore—you’re reshaping the tool, and that’s a mistake you can’t sand away.
Is there a point where using a power tool becomes a liability instead of a help when working on delicate vintage pieces?
Absolutely. If you’re working on something thin or aged, a power tool can turn a restoration into a disaster in a heartbeat. Those high-speed spindles don’t have “feel”; they just eat metal. If you can’t sense the resistance through a hand tool, you’re just guessing, and guessing leads to gouges. When the piece is delicate, put the grinder away. Use a bit of hand-sanding and your own steady rhythm instead.
What's the best way to tell if a metal is worth the effort of a full polish or if it's better left with a bit of honest patina?
Look closely at the surface. If you see deep pitting or structural cracks, no amount of polishing is going to save it; that metal’s integrity is gone, and you’re just wasting your time. But if the oxidation is just a thin skin over solid, heavy metal, then it’s worth the sweat. If the piece has character and the metal is sound, polish it. If it’s crumbling, let it age with dignity.
