I remember a job back in ’88, working on a custom brass fitting for a client who thought he could save a few bucks by buying a generic, bargain-bin buffing setup. I watched him spend four hours fighting with a piece of cloth that was more heat than grit, eventually leaving nothing but scorch marks and deep scratches on a piece of metal that should have been mirror-bright. Most folks today fall into that same trap, thinking that any spinning disc will do the trick, but the truth is that the wrong metal polishing wheels won’t just slow you down—they’ll ruin your workpiece before you’ve even found your rhythm.
I’m not here to sell you on some fancy, overpriced brand name or a gadget that promises a showroom shine in thirty seconds. What I want to do is show you how to actually understand the material you’re working with. I’m going to walk you through which wheels actually hold their shape under pressure and how to match your grit to the job at hand so you aren’t wasting time or material. We’re going to do this the right way: with patience and precision, ensuring that whatever you polish is built to last.
Table of Contents
Metal Surface Preparation the Foundation of Real Work
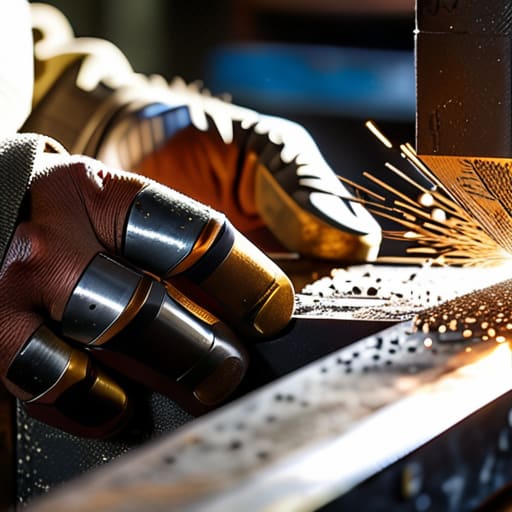
You can’t expect a piece of steel to look like a mirror if you’re starting with a surface full of deep gouges and heavy oxidation. I’ve seen plenty of young fellas jump straight to the fine stuff, thinking they can just polish away a decade of neglect. That’s a fool’s errand. Proper metal surface preparation is about leveling the playing field; you have to work through the grits systematically. If you skip a step in the sanding process, you’re just going to spend three hours trying to buff out a scratch that should have been gone in five minutes.
Once you’ve got the surface relatively even, your focus shifts to buffing wheel material selection. You need to match the grit of your abrasive to the specific density of the metal you’re working on. Using a coarse cloth on a surface that’s already smooth will just chew it up, and using something too fine too early is a waste of good time. It’s a ladder, not a leap. You climb it one rung at a time, ensuring each stage leaves a surface ready for the next, or you’ll find yourself fighting the metal instead of working with it.
Abrasive Wheel Types for the Patient Craftsman
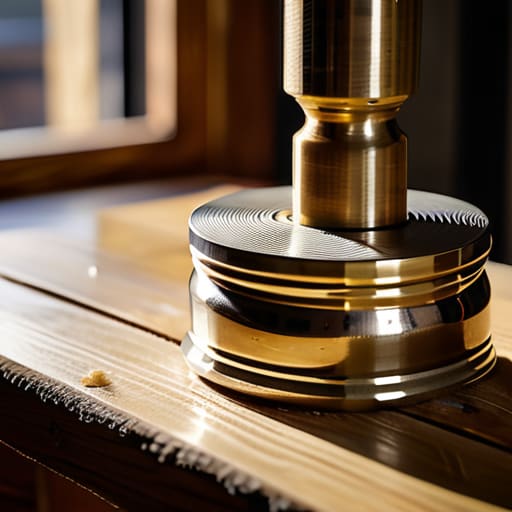
When you start looking at the different abrasive wheel types available, don’t let the sheer variety overwhelm you. It’s easy to walk into a shop and grab the first thing that looks shiny, but that’s a quick way to ruin a good piece of stock. If you’re working with something delicate, like an old brass fitting, you’ll want to lean toward soft cotton or muslin buffs. These are meant for the final stages where you’re just moving compound around to bring out the luster. If you’re still fighting deep scratches, you’ll need something more aggressive, like a felt wheel or a heavy sisal, to do the heavy lifting before you even think about the fine work.
The real secret to achieving a mirror finish isn’t in the speed of your motor, but in your buffing wheel material selection. I’ve seen too many youngsters try to jump straight to a fine cloth when they haven’t even leveled the surface. You have to respect the progression. Start coarse to move the metal, then move through the grades systematically. If you skip a step, you’re just polishing the scratches you should have removed ten minutes ago.
Five Rules for Not Ruining Your Work
- Watch your pressure like a hawk. It’s tempting to lean into the machine when you’re tired, but pressing too hard doesn’t speed things up—it just creates uneven heat and can gouge the metal you’ve spent hours prepping.
- Speed isn’t everything. You might think a high RPM gets you to the finish faster, but if you’re using a felt bob or a buffing wheel, running too fast can burn the surface or even throw a piece of the wheel across the shop. Keep the speed matched to the grit.
- Don’t skip the grit progression. I’ve seen too many young fellas try to jump from a coarse sanding disc straight to a fine polishing compound. You’ll just end up polishing the scratches you made in the first place. Work your way up, step by step.
- Keep your compounds clean. If you’re switching from a coarse grit to a fine rouge, make sure you clean that wheel thoroughly. A single grain of heavy grit stuck in a fine buffing wheel is a recipe for a ruined finish.
- Listen to the machine. A good craftsman uses his ears as much as his eyes. If the pitch of the motor changes or you hear a rhythmic chatter, stop immediately. Something is wrong with your angle or your pressure, and if you keep going, you’re just wasting material.
The Craftsman’s Bottom Line
Never skip the prep work; if you try to polish over scratches and heavy oxidation, you’re just buffing dirt around and wasting your time.
Match your abrasive to the job at hand, because using a coarse wheel when you need a fine finish is a quick way to ruin a good piece of metal.
Patience is your best tool in the shop, so don’t force the wheel against the surface—let the grit do the work and let the heat build slowly.
## The Truth About the Finish
A polishing wheel is just a tool, not a magic wand; if you haven’t done the hard work of prepping the surface properly, you’re just spinning a lie across the metal that’ll show its cracks the moment the light hits it.
Alistair Fenwick
Final Thoughts Before You Hit the Bench
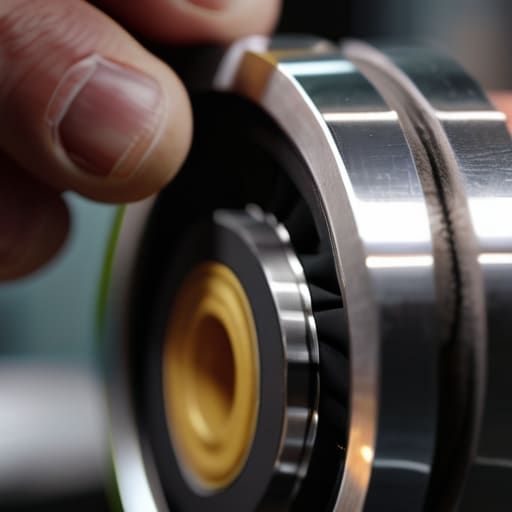
At the end of the day, getting a mirror finish isn’t about finding some magic, expensive gadget that does the work for you. It’s about understanding that your choice of wheel—whether it’s a coarse cloth for heavy lifting or a fine felt for that final luster—is only as good as the preparation work you did beforehand. If you skip the sanding or try to jump straight to the high-speed buffing without respecting the grit progression, you’re just burning through material and wasting your own time. Remember, the right wheel is a tool, not a shortcut, and precision comes from patience, not from how fast you can spin the motor.
I know it’s tempting to look at a piece of dull, pitted metal and want to see it shining in ten minutes, but that’s not how we do things in a real workshop. True craftsmanship is found in the steady, rhythmic motion of a well-chosen abrasive working its way through the imperfections. When you finally step back and see that deep, honest glow reflecting off the surface, you’ll know it wasn’t luck—it was your hand and your discipline. Don’t just aim to make things look pretty; build a finish that commands respect and stands the test of time. Now, get back to the bench and do it right.
Frequently Asked Questions
How do I know when I've gone too far with a coarse wheel and actually started cutting into the good metal?
You’ll know the moment you’ve crossed the line when the resistance changes. If you’re using a coarse wheel and you feel the tool suddenly “bite” or dive deeper than you intended, you’ve stopped polishing and started gouging. Watch your depth. If you see deep, jagged valleys forming instead of a uniform dulling of the surface, you’re eating into the good metal. Stop immediately. You can’t un-cut what’s already gone.
Is it worth investing in high-end felt bobs for detail work, or can I get the same result with a standard buffing wheel and some patience?
Look, if you’re working on a flat plate, a standard wheel is fine. But if you’re trying to get into the tight curves of an antique tool or a decorative casting, you’ll find yourself fighting a standard wheel all day with nothing to show for it. High-end felt bobs aren’t a luxury; they’re a necessity for precision. They allow you to reach where a flat wheel can’t, saving you from uneven finishes caused by sheer frustration.
How do I keep the polishing compound from loading up the wheel and making a mess of the finish?
If you’re seeing a gummy mess, you’re likely pushing too hard or using too much compound. Stop. You don’t need to bury the wheel in grease; a light touch is better. If it does load up, don’t just keep grinding—you’ll smear the grit and ruin the surface. Take a moment to clean the wheel with a stiff brass brush or a dedicated cleaning solvent. Keep your pressure steady and your compound light.
